Use roles to assign access-level permissions to users. While few roles are available by default in erwin DI, you can create custom roles.
The Administrator role is system-generated and you cannot edit or delete it.
To create roles, follow these steps:
- Go to Application Menu > Data Catalog > Resource Manager.
- Click the Roles tab.
- Click
 .
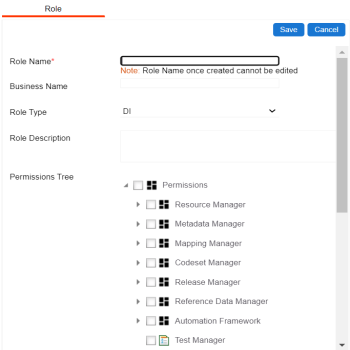
. - Enter appropriate values in the fields. Fields marked with a red asterisk are mandatory. Refer to the following table for field descriptions.
- DI: Indicates that the role is available only for a Data Intelligence (DI) user
- BU: Indicates that the role is available only for a Business User (BU)
- Under the Permissions Tree section, select the check boxes corresponding to the modules and the permission objects for which you want to grant access to the role.
DI users have access to all the available permission options. Whereas BU users have access to a subset of permissions. Refer to the following table for the description of the Permission options and the access rights available to the BU users.
- Click Save.
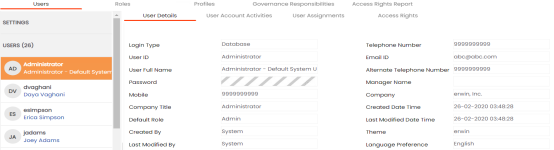
The Resource Manager page appears. By default the Users tab opens.
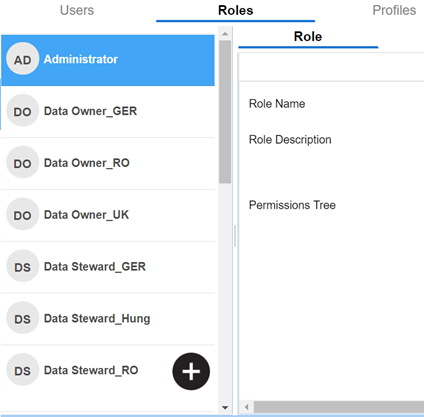
The Role page appears.
|
Tab |
Description |
|---|---|
|
Role Name |
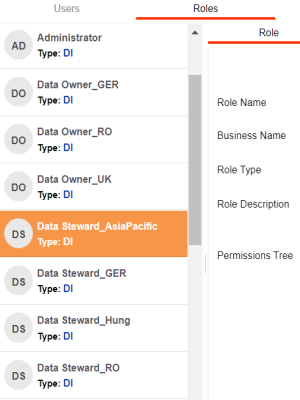
Specifies the user-defined role name. For example, Data Steward_AsiaPacific. |
|
Business Name |
Specifies the user-defined business name. For example, Data_Steward_Mapping. |
|
Role Type |
Specifies the role type |
|
Role Description |
Specifies the role description. For example, This role has access to the Resource Manager and Mapping Manager. |
|
Permission Options |
Description |
BU User Access Permissions |
|---|---|---|
|
Modules |
Specifies the modules accessible to the role, such as Metadata Manager, Mapping Manager, Data Marketplace, and other relevant modules based on your role |
Access to only these module options and a limited selection of permissions within these modules: Resource Manager, Metadata Manager, Mapping Manager, Codeset Manager, Reference Data Manager, Reporting Manager, Data Marketplace, Business Glossary Manager, Discover Assets, and My Action Center. |
|
Reviews |
Specifies the add, view, update, and delete review options |
Yes |
|
Settings |
Specifies the access to settings for the modules, license key, and miscellaneous configurations |
Access to a limited selection of permissions |
|
Lineage |
Specifies the lineage access with a list of metadata properties |
Yes |
|
Master Access |
Specifies the permission object for master access |
No |
|
Proposed Asset |
Specifies a list of permission options for managing business and marketplace assets |
Access to a limited selection of permissions |
|
My Settings |
Specifies a list of permission options for Language Preference, Password and User Tokens |
Access to a limited selection of permissions |
|
AI Chat Bot |
Specifies the permission object for erwinAI bot access Available with version 15.1 |
No |
|
erwinAIAssistant |
Specifies the permission object for erwinAI Assistant access Available starting with version 15.2 |
No |
|
erwinAIInline Assist |
Specifies the permission to access erwinAI Inline Assist for business assets, marketplace assets, and technical assets (tables and columns) |
No |
A role is created and added to the Roles list.
Once a role is created, you can:
You can also manage roles by using the options available on clicking the role. Managing roles involves:
- Editing roles
- Deleting roles
- Cloning roles